The blades in your automatic roll-to-sheet cutting machine are critical for achieving precise, clean cuts across various rolled materials. Understanding proper blade adjustment, assembly, and consistent maintenance is essential for maximizing your machine's performance and minimizing costly downtime.
Key Factors Influencing Blade Quality
Several elements contribute to a blade's effectiveness and lifespan:
Material Composition: Blades crafted from high-quality steel or high-speed steel ensure superior sharpness and long-lasting durability.
Manufacturing Precision: The precise manufacturing techniques employed during production are crucial for maintaining blade consistency and extending its operational life.
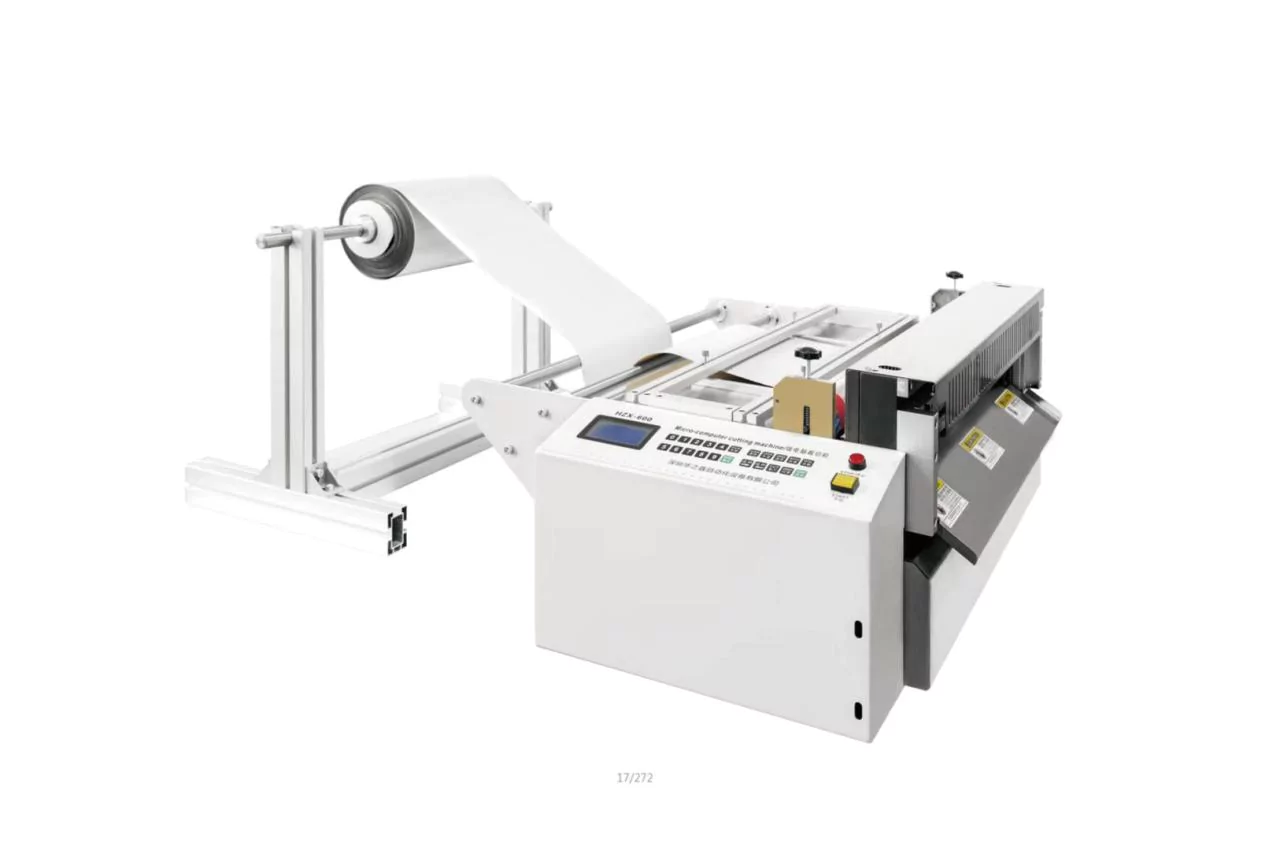
Machine Control Systems: These advanced cutting machines typically operate using either PLC + servo/stepper control or integrated circuit board + servo/stepper control systems, ensuring precise movements and cuts.
Unmatched Material Versatility
These machines offer exceptional adaptability, capable of processing a diverse array of materials, including:
Various fabrics (e.g., PU, leather, PVC, TPU)
Webbing, zippers, and hook-and-loop fasteners
Adhesive foam sponges, EVA, and soft plastic tubing
Small wires, labels, and protective films
Composite materials, PET, and double-sided tapes
Flexible circuit boards and ribbon cables
Advantages of Microcomputer-Controlled Cutting
Microcomputer-driven cutting machines significantly outperform manual cutting methods, offering numerous benefits:
Increased Efficiency: They automate cutting tasks, drastically reducing labor needs and boosting production output.
Enhanced Accuracy: Consistent cut lengths ensure uniform products every time.
Improved Aesthetics: They deliver clean, professional cuts, significantly enhancing product appearance.
Material Optimization: By minimizing waste, these machines help maximize material utilization.
Troubleshooting and Blade Adjustments
If you notice rough cut edges or material misalignment, it often indicates an issue with the blades. Fortunately, minor adjustments or reinstallation can frequently resolve these problems.
Crucial Safety Note: Always turn off the power switch and exercise extreme caution to prevent electrical hazards before attempting any blade maintenance or adjustments.
Blade Adjustment Procedure:
1. Secure the Blade: With the power off, tighten nut N while using a Phillips screwdriver to hold screw P. Avoid over-tightening screw P, as this can impede proper operation.
2. Sharpening: Use an L8 wrench to move the drag plate up and down, which grinds the upper and lower blades against each other. After this, lower the drag plate and perform a test cut to check for smoothness.
3. Fine-Tuning Rough Edges:
If the left side has a rough cut or burrs, slightly tighten nut N on the left while slightly loosening it on the right. Repeat if necessary.
If the problem persists, insert a piece of paper behind the non-cutting area of the blade to increase contact pressure.
Adjust the right side similarly if needed.
Blade Assembly Instructions
1. Clean Blades: Wipe down the blades and all contact surfaces with a clean cloth to remove any debris.
2. Install Lower Blade: Place the lower blade onto its device, ensuring it aligns with the connecting plate. Securely tighten the three fixing screws one by one.
3. Position Upper Blade: Manually raise the drag plate to its highest point. Install the upper blade, but leave its fixing screws loose for now.
4. Tighten and Adjust: Lower the drag plate completely. Now, tighten the upper blade's fixing screws (start with the middle screw, then the sides).
5. Calibrate Cutting Edges: Gradually open and close the upper and lower blade edges using the manual adjustment method several times. This helps prevent burrs. Finally, raise the drag plate to its highest position.
Effective Blade Maintenance
Cleaning: Create a cleaning solution by mixing detergent or soap powder with water to remove dirt, salt, and grease. Thoroughly clean the blades and all rotating parts, then rinse them with clean water. Wipe everything dry with a cloth, using a cotton swab or a thin bamboo stick for intricate areas. Alternatively, use a cold air blow dryer to ensure complete drying.
By diligently following these guidelines for blade adjustment, assembly, and maintenance, you can ensure your automatic roll-to-sheet cutting machine performs optimally, leading to consistent, high-quality cuts and maximizing the overall efficiency of your operations.
评论
发表评论